Boy absolutely loves baking. If I ask him what he would like to do he will nearly always request making cakes or biscuits or pies. I wonder if it might be something to do with his enveloping schema (see previous
post).
In doing this activity we opted for vanilla fairy cakes decorated with a springtime/floral theme. In the past we've decorated cakes like bugs and spiders, bright rainbow colours, or just with loads of sprinkles! Your local supermarket (Morrisons is particularly good for cake decorating things) will have loads to choose from. Baking is actually really simple. The key is to stick rigidly to the recipe. This recipe is tried and tested and was given to me by my mother and is from the Be-Ro Book - an excellent baking book which cost only a few pounds!
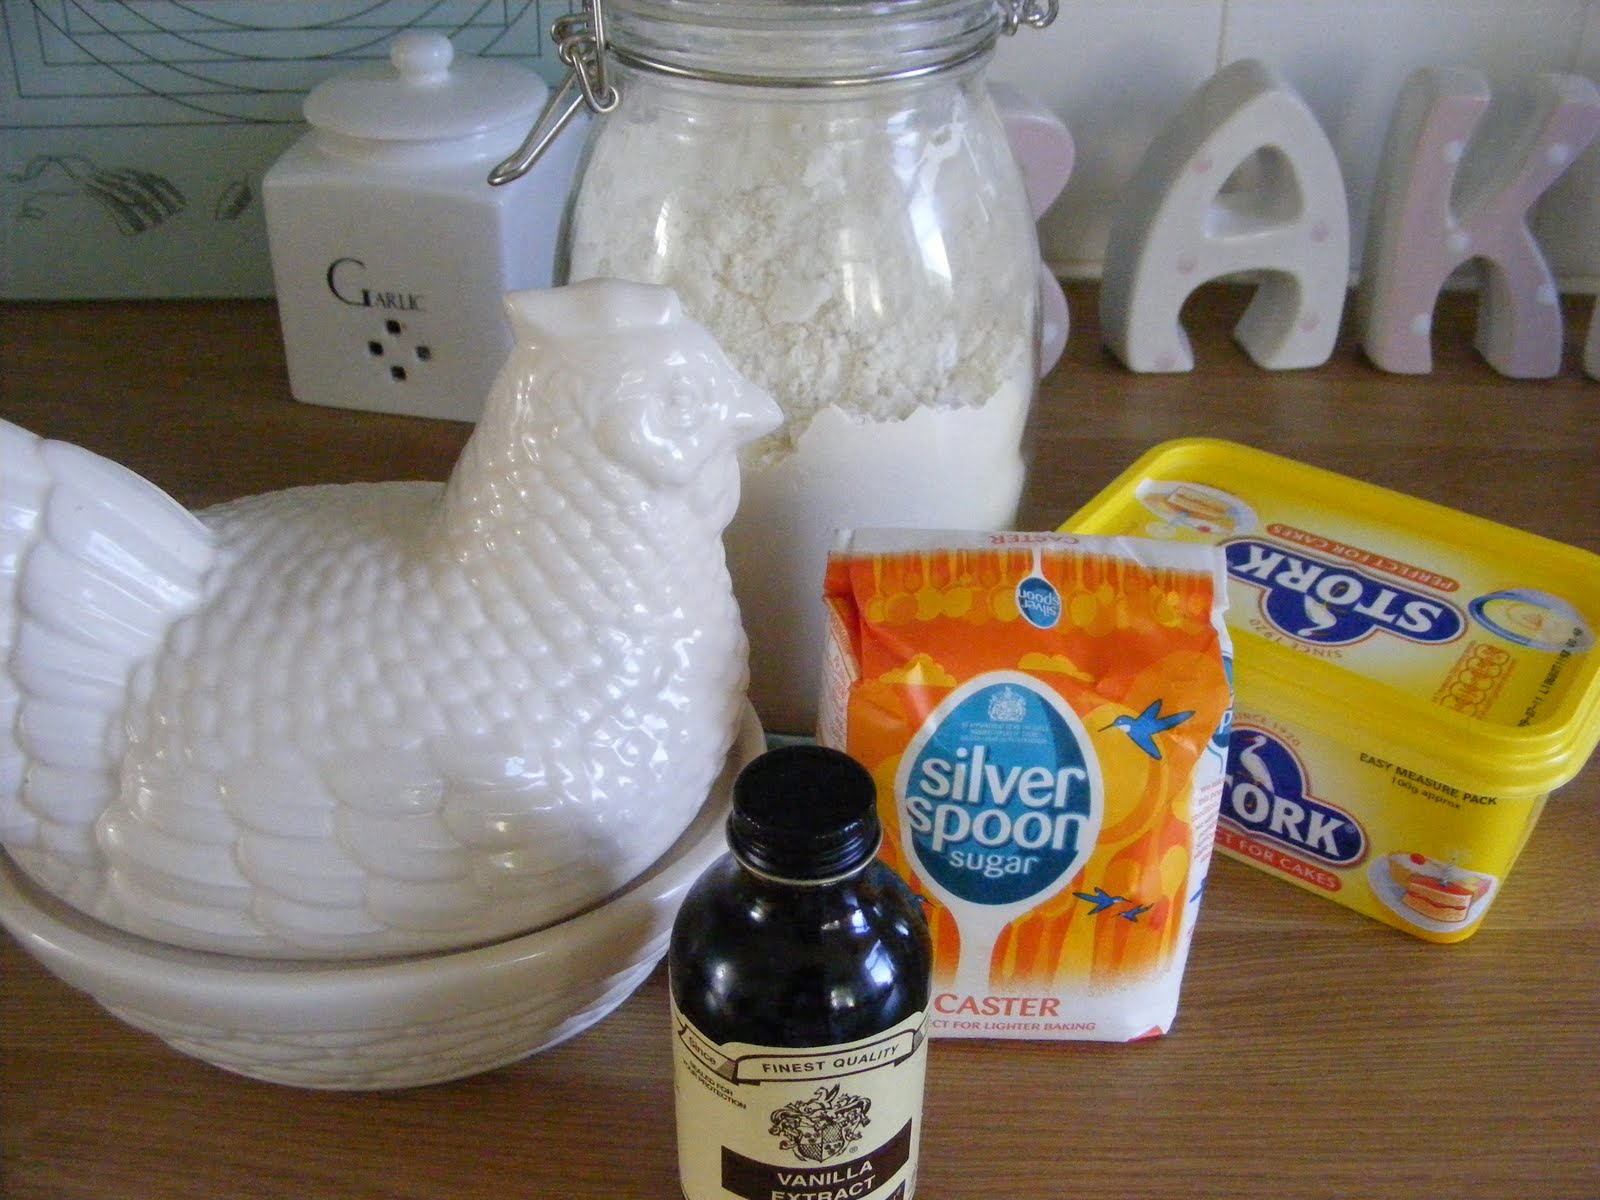
You will need: 100g caster sugar, 100g butter or baking spread (like Stork), 2 eggs, 100g self raising flour, a tsp vanilla extract. Equipment needed: a mixing bowl, electric whisk or wooden spoon, weighing scales, sieve, metal spoon, fairy cake cases, a bun tin. Set your oven to 180 degrees.
First - wash your hands!
Put the sugar and butter or baking spread into a mixing bowl and 'cream' together. This means mix it with an electric whisk or wooden spoon until the two ingredients are combined and the mixture looks light and fluffy.
Next, crack in one egg, add the vanilla and beat until combined. Then add the second egg and beat in well.
Then, using a metal spoon, gently fold (mix carefully) in the flour a spoonful at a time. You can pass the flour through a sieve if you like but we didn't bother on this occasion and it worked fine.
Once you have made the mixture place equal amount into cake cases in a bun tin. This recipe is enough for 12-15 fairy cakes depending on how large you want them to be!
Bake in the oven for about 15 mins or until golden brown.
You can leave them to cool in the tin or transfer them to a cooling rack if you have one. Once they are cool it's time to decorate them. For this you will need: 4 tbsp icing sugar, 2 tbsp warm water, decorations. We used wafer daisies, glitter sugar, and some hearts and flower sprinkles I had in the cupboard. Mix the icing sugar and water together in a bowl. Once combined, spread a teaspoonful on top of each cake and then decorate however you wish.


This activity is brilliant for just spending some time with your child on a one to one. There are loads of learning opportunities and it will really give your child a sense of pride to know they have made something delicious. Talk about different quantities and measures and about simple chemistry. Allow your child to work as independently as possible - Boy did much of this himself, with me just weighing out and making sure he didn't eat the ingredients! Foster creativity by allowing your child to decorate the cakes in the way they want to. Don't worry about mess! It can be cleaned up very easily!
Make sure you involve your child in the clearing up too! It's all helping to teach them independence and self confidence. Enjoy baking. More recipes and ideas in future posts.


A lovely step by step guide!
ReplyDeleteThese are so pretty. He looks like a wonderful baker.
ReplyDelete