Thursday 28 July 2011

Perfect Victoria Sandwich Cake

Whilst at our Agricultural Show at the weekend I attended a Victoria Sandwich Cake Masterclass.  This wasn't a demonstration but rather advice on what judges are looking for when awarding prizes in cake competitions.  I thought I'd share these tips and also a recipe for anyone who might be interested.  Of course I enlisted the help of my two mini bakers too!
A true Victoria Sandwich is sandwiched together with raspberry jam only (no buttercream) and has a sprinkling of caster sugar (not icing sugar).  Using butter is preferable to baking margarine (although I won third prize a couple of years back using Stork!).  Use good quality ingredients, fresh butter and eggs.  Ensure there is no jam running down the sides and take care not to put your cake in too hot an oven for too long.  It should be light golden yellow on top when cooked.  A Victoria Sandwich should always be baked in two tins not a single tin and then cut in half.
Here's our recipe.  Grease two 20cm sandwich tins and line the base with baking paper.  Then weigh four medium sized eggs and make a note of the weight.  Ours were 232g.  Then use this weight to measure the same quantity of butter (softened, left out of the fridge for a while first), caster sugar, and self raising flour.
Use either an electric whisk or a wooden spoon to cream the butter and sugar until it is light and fluffy in texture.
Then add the eggs one at a time and beat into the mixture.
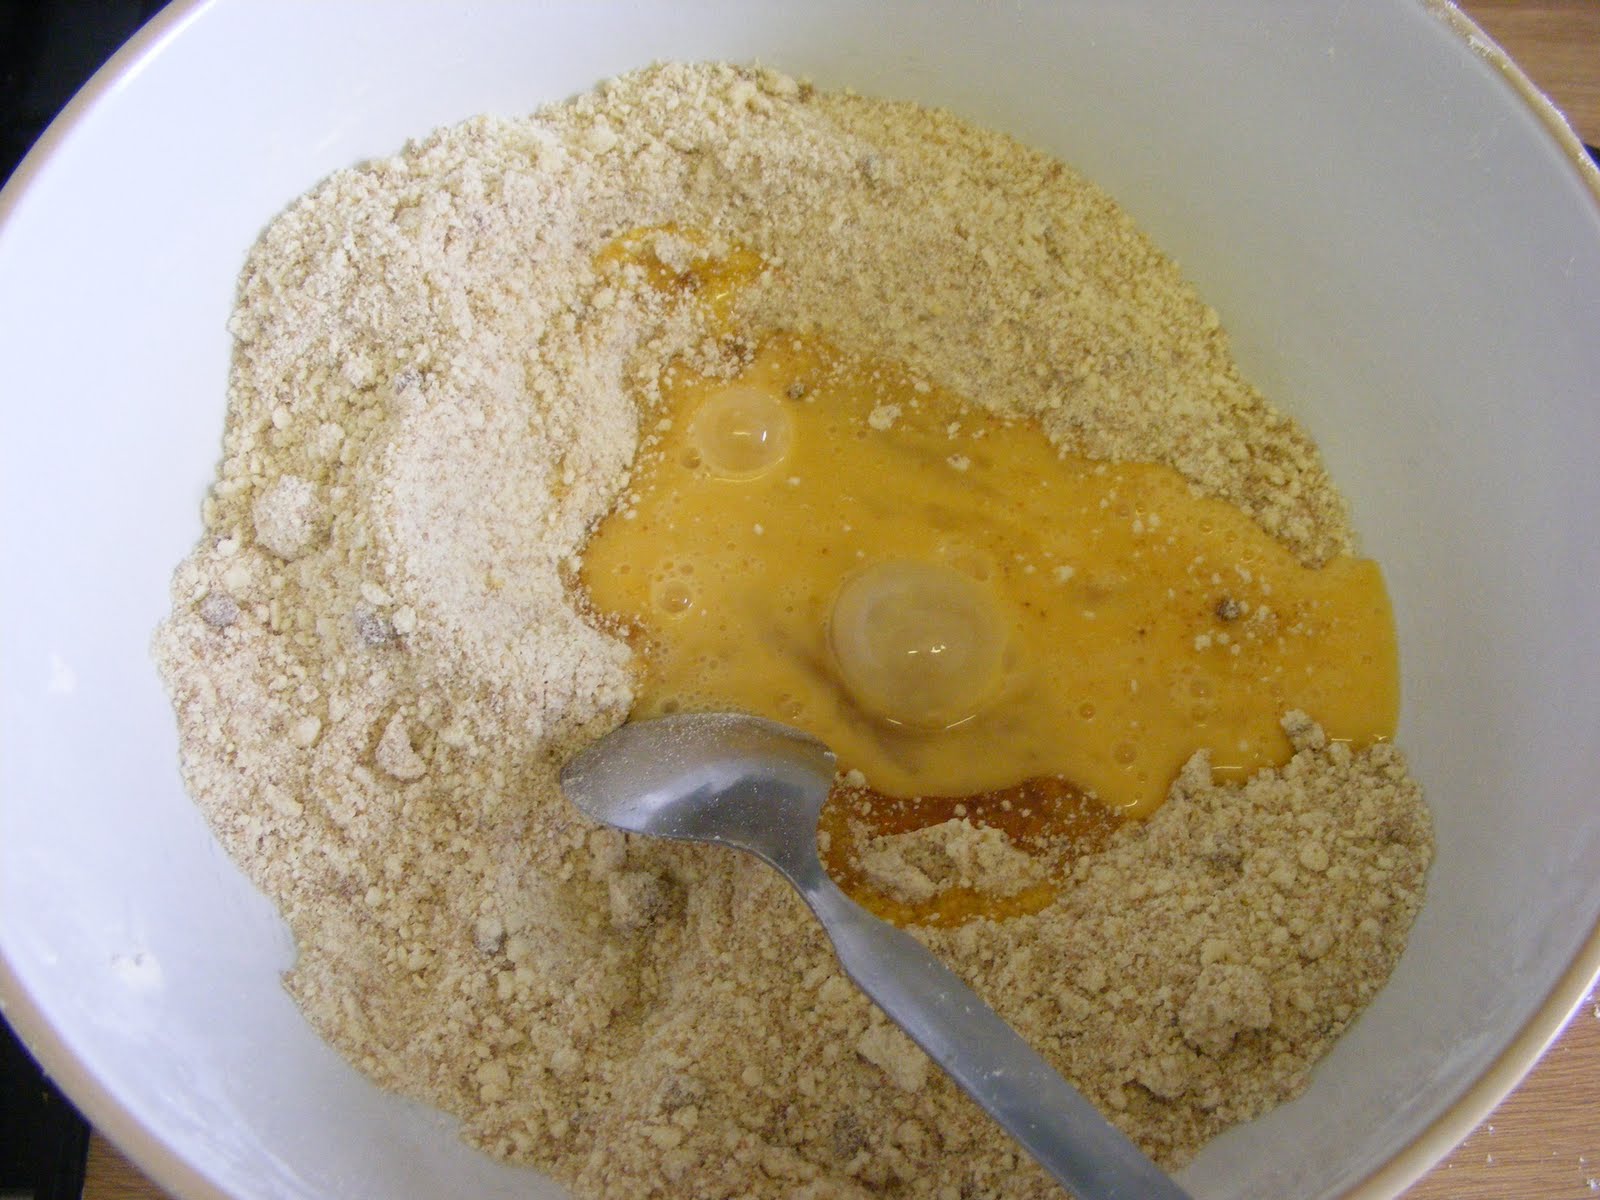
Then fold in the flour using a metal spoon.  do this a couple of spoonfuls at a time mixing gently until all the flour is combined.
Then carefully spoon equal amounts into the tins and smooth the surface.
Bake in the oven at 180 degrees (or less if you have a fan assisted oven) for about 20 mins.
Allow to cool a little in the tins before turning out onto a cooling rack.  Be careful not to get cooling rack marks on the top of the cake - this will lose you points apparently!  Once cool, warm some raspberry jam.
Spread over the top of one of the cakes and then sandwich together.
Dredge the top with caster sugar and you're done!

Wednesday 27 July 2011

Messy Mixing Madness

Yesterday at Pre School some of the children created an activity for themselves, supported by the adults, which involved mixing glue and paint together.  This then evolved into adding all sorts of different colours and glitter and then using the resulting substance to make a picture.  I began wondering if I could develop this idea to use at home or take it a step further at nursery.  I wondered what might happen if I put a whole load of different craft materials and kitchen ingredients on the table along with bowls and spoons and just let the children mix things together in their own way.
I simply went around the kitchen and found the 'ingredients.'  We used, flour, salt, bicarb of soda, vinegar, water, yellow and blue paints and some PVA glue.  I also found some small tubes of glitter.
First Girl decided to use the salt.  She poured some into her dish.  Then she asked for the yellow paint and mixed the two together.
Girl has a rotational schema so she really enjoys mixing.
Some bicarb made the mixture more of a paste and then some vinegar gave it some fizz which was fun!
Boy joined in a few minutes later and spent about 40 minutes gradually changing his mixture and talking to himself and to me about what was happening.
After he'd used up all the ingredients he asked if he could put his hands in and feel it.  I suggested he do this in the sink!
I asked him to describe how it felt and he said 'Smooth, warm, slimy!'  If you decide to have a go at this I offer the following advice; open the windows - it was pretty noxious, cover the surfaces, have plenty of cloths at the ready, be prepared for the mixtures to get everywhere - I had to clean the floors and the walls, wear aprons!

Sunday 24 July 2011

Bingley Show

Yesterday we went along to our local Agricultural Show in Bingley - which is our local town.  Earlier in the week we posted about the baking and craft items we had been preparing for the show.  The children entered chocolate cornflakes, decorated gingerbread men and a decorated paper plate.  Sadly, we didn't win any prizes this year but there were so many fantastic entries, it would have been hard for the judges to pick a winner!
Some great paper plate craft ideas here.  I liked the lion one!
Homemade Party Hats.  Some wonderful creations here - all age 6 and under!
Junk models.
The gingerbread men.  I think I liked the footballer ones best, but they were all good and so interesting to see all the different ideas the children had.
There is always so much to see at an Agricultural Show.  The livestock classes are really interesting and children just love to see the animals.
As well as all the craft and baking entries there are always plenty of horticultural items to view.
There were children's entries in horticulture too.  Miniature gardens, pictures made using plants and seeds, vegetable creatures.....
So much to inspire us to find new activities and ideas.  These kind of shows go on all over the country for most of the summer so there is bound to be something in your area.  Find out and go along with your family and enjoy our rural heritage, and perhaps even take part.

Friday 22 July 2011

Gingerbread Men

Both children are entering '2 Decorated Gingerbread Men' in the show at the weekend.  Here's our recipe!
This recipe makes quite a lot of gingerbread men.  We have quite a small cutter though so perhaps that is why!  Ingredients; 350g plain flour, 1 tsp bicarb of soda, 2 tsp ground ginger, 100g butter, 175g sugar, 4 tbsp golden syrup, 1 egg.
Mix the flour, bicarb and ginger together in a bowl.  Add the butter in small pieces and rub in until the mixture looks like breadcrumbs.  Then stir in the sugar.
Then add the golden syrup and beaten egg to the mixture and mix until a soft dough is formed.
Then roll the mixture out to about 1/2 cm thick and cut into gingerbread men.  Bake at 190 degrees on a greased or lined baking sheet for about 10 minutes.
Once cooled you can decorate them.  We used a selection of sprinkles, sweets, silver balls and some coloured icing.
This is the fun bit - especially eating the sweets!
The finished article.  We'll let you know if either child wins a prize!

Thursday 21 July 2011

Paper Plate Craft #2 Frogs!

One of the classes Girl is entering in our local show is 'Decorated Paper Plate.'  This is a brilliant category for young children.  We love being creative with a paper plate and here is our offering for the show.  Boy did one too although he was insistent when I filled out the entry form that he didn't want to do this.  Now he's changed his mind, obviously!
First you need to paint or otherwise decorate (collage, crayons whatever..) the plate in your chosen colour on both sides.  Paint takes a while to dry so if your child finds it difficult to wait for things to dry (I had to work hard to get mine to do this) then use colouring instead of painting.
Boy made a blue frog (?) and Girl did a conventional green one.  I used foam sheets in different colours and cut out shapes for them to use.  Feet, eyes, tongue etc...
Once the plate is dry fold it in half.
Then stick on the various bits to make the frog look like a frog!
Then we used some coloured sequins we had in our craft drawer to make some speckles.
This is a very easy craft to do with even very young children because they are really doing simple sticking in the appropriate places.  I admit there is less freedom in this than I would normally have but, as it's for a competition, I felt it ought to look like it's meant to be something.  Boy and Girl are both pleased with their frogs.