Friday, 24 June 2011

Ice Cream Parlour Play

Yesterday morning I asked the children what they wanted to do and Boy shouted 'Ice Cream!!!'  I explained that they would not be eating ice cream at 8.30am but that we could play ice cream parlour if they wanted.  Girl has a little ice cream set which she spent a Christmas gift card on so this seemed like a good starting point.
Some weeks ago I saw a wonderful post from Sun Hats & Wellie Boots with ice cream play dough.  This excellent post can be found here.  I had tried something similar myself at pre school some time ago and the children loved it.  So we made strawberry, vanilla and chocolate ice cream play dough.
We made up a small amount of play dough.  1 1/2 cups plain flour, 1 1/2 cups water, 3/4 cups salt, 1 tbsp cream of tartar, 1 1/2 tbsp vegetable oil.  Place all the ingredients in a pan over a low heat and stir until a stiff dough is formed.  Knead until smooth.  Then we split it into three equal parts and added cocoa, strawberry flavouring (available at Morrisons in Home Baking section) and a few drops of red colouring, and vanilla extract and some yellow colouring to the three doughs.  Job done!
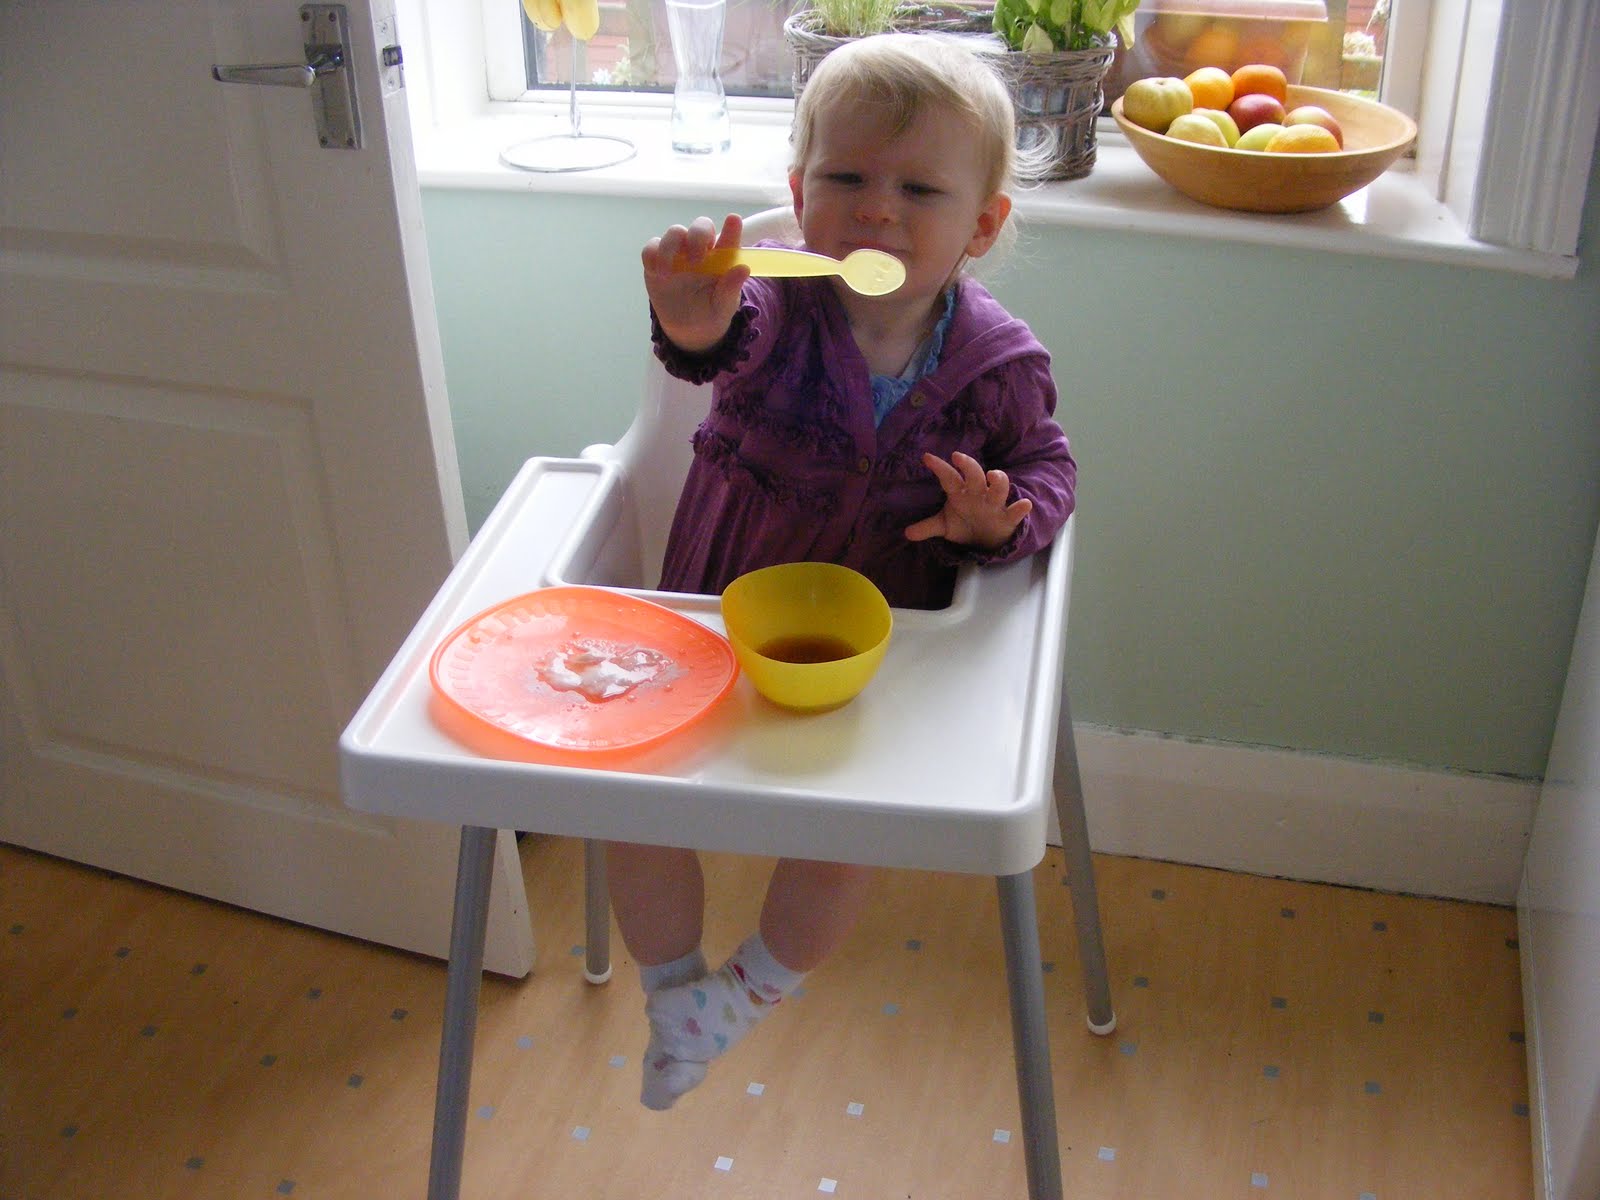
I put out some silicone cake cases to use as bowls, some plastic spoons and some shiny stars and sequins to use as sprinkles.  Girl absolutely loved this play dough and spent most of the morning making ice creams.
Her first creation was a chocolate ice cream with sprinkles.  Then she asked me for the strawberry dough.
This one with a strawberry on top!  The vanilla she enjoyed making marks in with a spoon.
Boy made a chocolate ice cream cone with some sequins on top.  He took some time over this to make sure it was perfect.
He gave it to his sister and this made her very happy as you can see!  Then he made himself an ice cream and tucked in too!
We took the dough into pre school in the afternoon and so the children there were able to enjoy it too.  We will definitely make some more to keep nice at home.  This was a great activity that both children were able to take part in.  It can sometimes be difficult to find things that they can both do and get something out of.

Wednesday, 22 June 2011

A Festival of Painting

This morning turned into a celebration of different painting activities.  All of these techniques and ideas are well known and well loved by children young and old.  First we put together a selection of colours to start with and laid out various materials and equipment for the children to use.  Then I let them take the lead and choose what to do.
Girl pointed at the brush and began mark making straight away.  Easy, simple straightforward!
Boy noticed we had the colours of the rainbow and so he said he wanted to paint a rainbow.  A great opportunity to do some symmetry painting.  We have made abstract designs and butterflies ths way but never a rainbow so this was new for us.  He painted strips of colour - he asked which order the colours went it.
 Then he folded the paper over in half to make a mirror image of his work.
Girl chose to do some printing next.  We used biscuit cutters on different shapes.  You can use pretty much anything for printing - vegetables and fruit, fingers, hands, feet, anything with texture or shape that might be interesting.
There are one or two 'fist' prints in there too!
Boy then moved onto 'blow' painting.  For this you need to water down the paint so it's quite runny.  Spoon a little paint onto the paper and then use a straw to blow the paint in different directions.
Finally we did 'string' painting.  Or in this case it became wool painting because I had that to hand.
Here's how to do it.  Take a length of string or yarn and soak it in some paint.  Then place onto paper any way you choose.
Fold it over and then gently pull the string out.
Here is the result......
We had such fun painting this morning and there are so many creative and wonderful ideas on various sites I thought I'd provide links to a few which I think are really interesting and useful
Canvas Painting at Messy Kids
Painting with toy cars and trucks at Play Create Explore
Pendulum Painting at Quirky Momma
Edible Homemade Finger Painting at The Imagination Tree
And this last one we did today at pre school and we'll finish it off tomorrow but it is really lovely
Eric Carle Prints at The Imagination Tree

You might also want to have a look at these previous posts which include painting:
Seashell Painting
Sand and Paint
Vegetable Printing


There are thousands more things to do with paint.  Check out the ideas I've suggested and have a go at some of them!
Classified: Mom

Monday, 20 June 2011

Rainbow Cake

We felt inspired to make a Rainbow Cake this afternoon.  Our lovely friend Mel (also our most brilliant nursery chef!) suggested an idea for Rainbow Cupcakes last week.  We tried it at pre school and it worked well.  Here is our large scale version.
Ingredients; 150g butter, 150g caster sugar, 3 eggs, 150g self raising flour, vanilla extract, a variety of food colourings.
Cream the butter and sugar together.  Then beat in the eggs one at a time.  Add some vanilla extract.  Then fold in the flour gently.
Then you will need six small bowls.  Divide the mixture equally into the small bowls.  Then add food colouring to make the different colours of the rainbow (or you could be abstract and just choose colours of your choice more randomly).  We did; red, orange, yellow, green, blue, and purple (we mixed red and blue for this.)  One thing I did learn from the cupcake version we did last week is that 'natural' red colouring turns brown when baked so if you want the real pillar box look we managed today then you do have to go for the e numbers I'm afraid.
Once mixed, spoon the mixture into the cake tin (we used two 20cm sandwich tins) in the order you want them to be.  I forgot to photograph this bit (crazy, I know!) so you'll need to imagine I'm afraid.  You could do it in blobs or vertical strips or horizontally if you were really clever and patient!
Bake in the oven at 180 for about 25 mins.
Once cool you can fill the cake with either butter cream or jam.  Decorate it however you like.  Coloured smarties might look good.  We had run out of icing sugar so we went for jam filling and a sprinkle of sugar on top.  It would make a fantastic cake for a Rainbow Party.  It's lots of fun whatever you make it for!

Sunday, 19 June 2011

Pants!

Boy and Girl's favourite book is  'Pants' by  Giles Andae and Nick Sharratt.  It's one of my favourites too!
Sometimes looking at books leads on to other kinds of play or activities.  Children and adults can be inspired to extend what they have read.  Sometimes it's role play, singing, or art and craft activities.
Firstly, why do we love this book?
It's about pants, which are funny and silly.  It rhymes which makes it much easier for children to remember.  Boy can now 'read' this book out loud using the pictures as a prompt.  The illustrations are really bright and colourful which makes it really attractive to young children.
We decided to make our own pants using different papers.  I cut out a very simple pants shape and then Boy created his own design.
Allow books to ignite you imagination and see where it takes you.

Thursday, 16 June 2011

Homemade Science - Fun with Chemicals

Over the last few weeks we have been trying out lots of different ways of playing with bicarb of soda and vinegar.  Back in the New Year Boy and I made a homemade volcano from play dough and a mixture of vinegar, water, food colouring and washing up liquid.  We put all the liquid ingredients into a small plastic bottle and then build a 'volcano' around it using the dough.  I then added some bicarb to the top of the bottle and we had our very own volcano in the kitchen!  I found the idea in a book I love 'Mum's Stuff' which has loads of great ideas for children's activities.

More recently I was prompted to revisit bicarb and vinegar as I have noticed a number of posts about Fizzing Outdoor Paint.  I think the original can be found at Quirky Momma and the one I saw first is at Hands on as we Grow,  here.  There are many versions out there!  We did this last week at pre school and it was a great success.  I also let the children pour small bottles of vinegar onto bicarb mixed with paint.  The result was overflowing bubbles and lots of laughter!
I began to wonder how else we could let the children play with this simple chemical reaction.  They had enjoyed mixing art with science with the fizzing paint so I decided on this.  We mixed up some vinegar with food colouring.  I have done red and blue here.  If you used white vinegar you could do yellow too but this didn't work so well with brown vinegar!  Then we put a very fine layer of bicarb onto a plate.  Using the small syringes you get with children's medicines, Boy made chemical patterns.
We did this at pre school a few days back and used pipettes instead of syringes and this worked equally well.  Girl was able to have a go too, although I confess I was not brave enough to add colouring to her vinegar and she used a spoon instead of a syringe!
Boy came up with quite a gruesome looking design after a while and he picked up that when the two colours mixed they made purple.
I recommend you put down newspaper or something else to cover the surface because food colouring does stain.  At nursery I used powdered craft/water dye and this also worked well.
This activity was really engaging for Boy.  He had to really concentrate on mastering using the syringes.  He was able to be creative and make a piece of 'chemical art.'  He was also observing and commenting on what he saw - colour mixing and a chemical reaction.  He also got to make quite a bit of mess which is always great fun!
Girl was simply fascinated by the fizzing and bubbles!  She spilled vinegar all over herself so is now going a round smelling like she works at the local chippy!
I am looking for more chemistry activities to do so ideas are very very welcome!