Showing posts with label cooking. Show all posts

Wednesday, 5 October 2011

Make a Harvest Loaf

It's Harvest Festival at Boy's school tomorrow.  He was ken for us to make a Harvest Loaf to take in as I had made one earlier in the week for the toddler group Harvest morning.  Once you get going it's actually very simple and something children can help with.
Ingredients: 750g strong white flour, 21g instant yeast, 3 tsp salt, 30ml olive oil.  Put all the ingredients into a bowl and add 360ml water.  Mix with your hands for about 3 mins.  Then add a further 120ml water and mix for another couple of minutes.  You will have quite a wet dough.  Turn onto a floured surface and knead for 5-7 mins until the dough is smooth on the surface and feels quite elastic.  Put it back into the bowl, cover and leave for an hour.
Once the dough has doubled in size knead it again for about a minute.  You are now ready to shape it.
First make lots of quite thin wiggly worm shapes.  These will be the stalks of the corn.  Arrange them onto the baking sheet so they are piled up into a bunch.
Then we made some quite fat sausage shapes for the ears of corn and arranged these at one end of the stalks.
Then we made a plait to represent rope tying the corn together.
Then placed the rope around the loaf.
Then we used a pair of scissors to snip into the ears of corn.
It's traditional to put a mouse onto the loaf so show that the harvest was plentiful and that there was spare corn to feed the mice.  We made ours from a ball of dough, a long strip for the tail and two tiny ball for ears.  The eyes are peppercorns.
Then turn the oven on to 180 degrees.  Cover the loaf.  When the oven is hot brush beaten egg all over the loaf.
Then bake for 30-35 mins until it is a lovely golden brown colour.
This is a very traditional loaf to make.  Farmers used to use the first of their harvest to make loaves and donate them to the church in the past but today you will sometimes see loaves like this one being used to decorate churches and schools as part of their harvest display.  Happy Harvest!

Tuesday, 16 August 2011

Chocolate Butterfly Cakes

Boy was keen to bake yesterday after dinner and we decided on chocolate butterfly cakes.  Here's how we did it.  Ingredients; 100g butter, 100g caster sugar, 2 eggs, 75g self raising flour, 25g cocoa.
Beat the butter and sugar together until light and fluffy.  Then add the eggs, one at a time, and beat into the mixture.
Then add the flour and cocoa, a few spoonfuls at a time, and gently mix in using a metal spoon.
Then place a teaspoonful into cake cases.  I got 15 cakes out of this mixture.
Bake for 10-15 minutes in the oven at 180 degrees.  Allow to cool.
For the icing you will need; 50g butter, 75g icing sugar, 25g cocoa, a spoonful of milk.  Beat all the ingredients together until light and fluffy.
 To make the butterflies cut a disk from the top of each cake using a sharp knife.
Cut the disk in half.
Put a spoonful of icing on the top and then arrange the 'wings' on the top!
Dust with icing sugar and you're finished.  A nice alternative to a plain butterfly cake.  These are also a big hit with Daddy!

Thursday, 28 July 2011

Perfect Victoria Sandwich Cake

Whilst at our Agricultural Show at the weekend I attended a Victoria Sandwich Cake Masterclass.  This wasn't a demonstration but rather advice on what judges are looking for when awarding prizes in cake competitions.  I thought I'd share these tips and also a recipe for anyone who might be interested.  Of course I enlisted the help of my two mini bakers too!
A true Victoria Sandwich is sandwiched together with raspberry jam only (no buttercream) and has a sprinkling of caster sugar (not icing sugar).  Using butter is preferable to baking margarine (although I won third prize a couple of years back using Stork!).  Use good quality ingredients, fresh butter and eggs.  Ensure there is no jam running down the sides and take care not to put your cake in too hot an oven for too long.  It should be light golden yellow on top when cooked.  A Victoria Sandwich should always be baked in two tins not a single tin and then cut in half.
Here's our recipe.  Grease two 20cm sandwich tins and line the base with baking paper.  Then weigh four medium sized eggs and make a note of the weight.  Ours were 232g.  Then use this weight to measure the same quantity of butter (softened, left out of the fridge for a while first), caster sugar, and self raising flour.
Use either an electric whisk or a wooden spoon to cream the butter and sugar until it is light and fluffy in texture.
Then add the eggs one at a time and beat into the mixture.
Then fold in the flour using a metal spoon.  do this a couple of spoonfuls at a time mixing gently until all the flour is combined.
Then carefully spoon equal amounts into the tins and smooth the surface.
Bake in the oven at 180 degrees (or less if you have a fan assisted oven) for about 20 mins.
Allow to cool a little in the tins before turning out onto a cooling rack.  Be careful not to get cooling rack marks on the top of the cake - this will lose you points apparently!  Once cool, warm some raspberry jam.
Spread over the top of one of the cakes and then sandwich together.
Dredge the top with caster sugar and you're done!

Friday, 22 July 2011

Gingerbread Men

Both children are entering '2 Decorated Gingerbread Men' in the show at the weekend.  Here's our recipe!
This recipe makes quite a lot of gingerbread men.  We have quite a small cutter though so perhaps that is why!  Ingredients; 350g plain flour, 1 tsp bicarb of soda, 2 tsp ground ginger, 100g butter, 175g sugar, 4 tbsp golden syrup, 1 egg.
Mix the flour, bicarb and ginger together in a bowl.  Add the butter in small pieces and rub in until the mixture looks like breadcrumbs.  Then stir in the sugar.
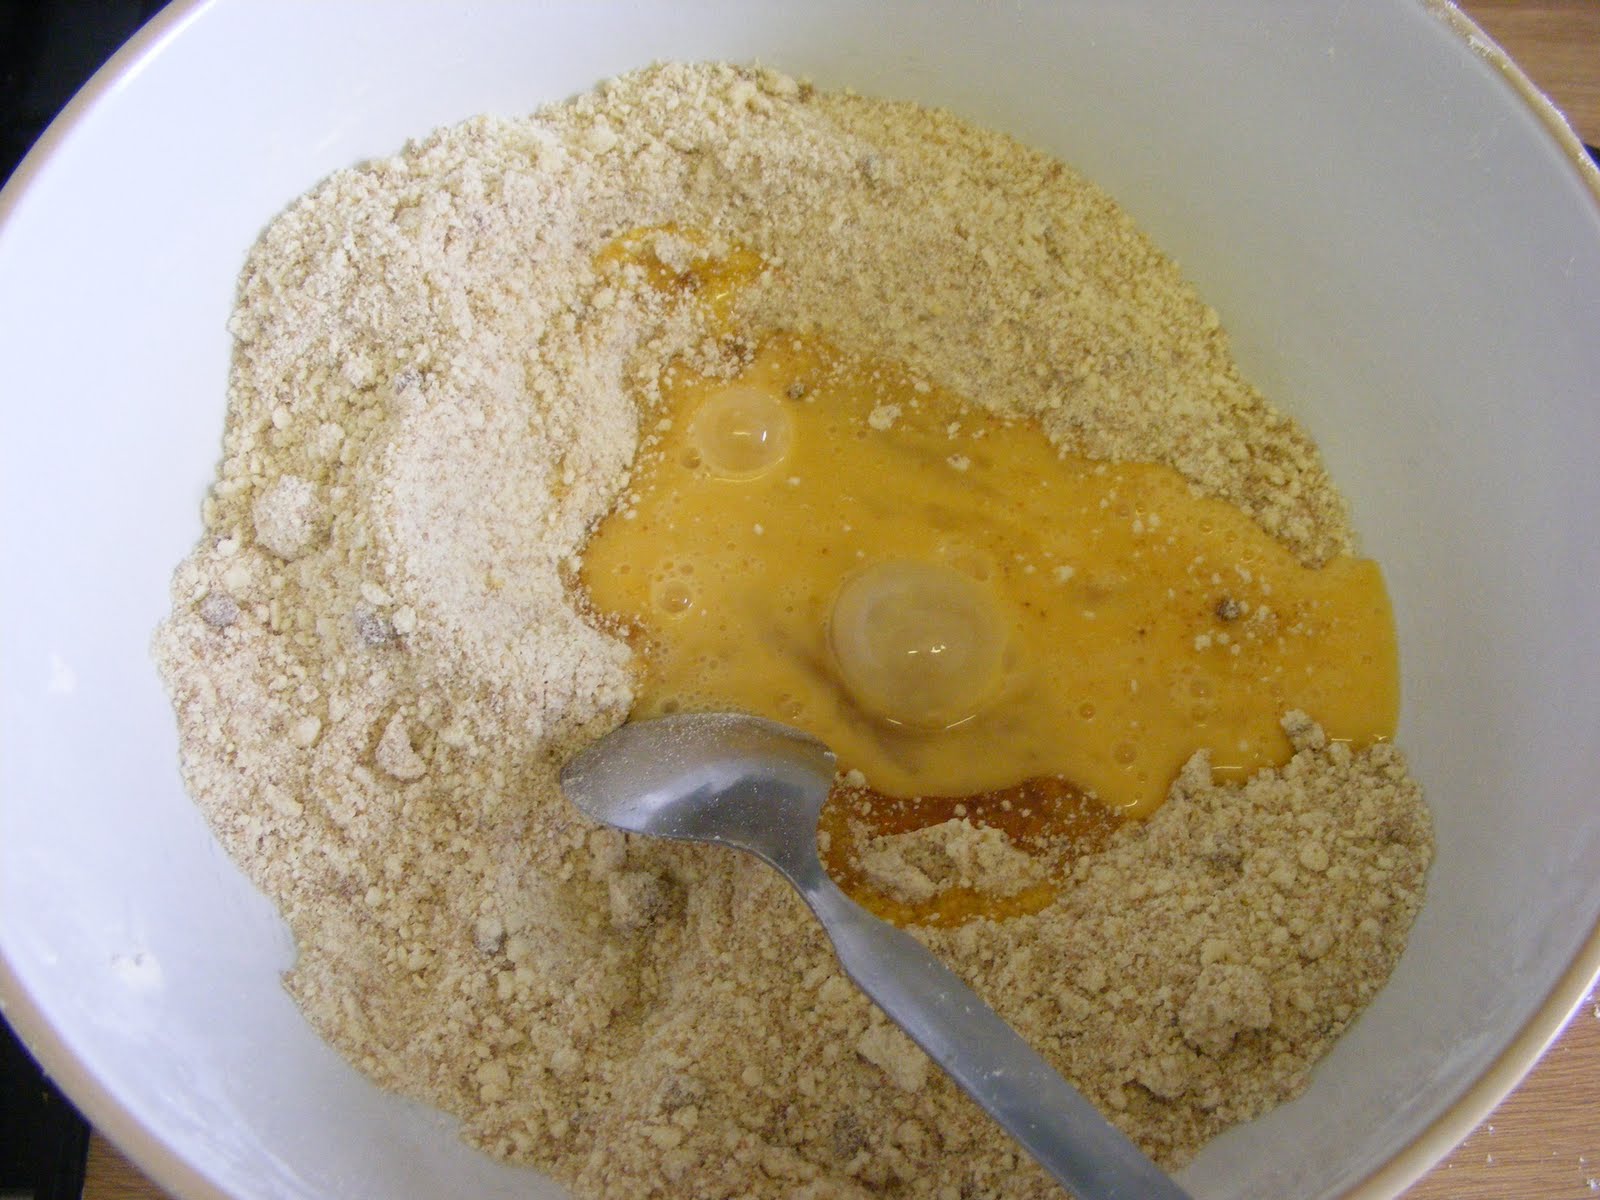
Then add the golden syrup and beaten egg to the mixture and mix until a soft dough is formed.
Then roll the mixture out to about 1/2 cm thick and cut into gingerbread men.  Bake at 190 degrees on a greased or lined baking sheet for about 10 minutes.
Once cooled you can decorate them.  We used a selection of sprinkles, sweets, silver balls and some coloured icing.
This is the fun bit - especially eating the sweets!
The finished article.  We'll let you know if either child wins a prize!

Thursday, 7 July 2011

All about Hedgehogs

I have mentioned a couple of times over the past few weeks that we have discovered hedgehogs in our garden.  At first we thought it was just one but we have now seen three, a mother and two hoglets we think.  Hedgehogs are nocturnal and so, sadly, the children are in bed when they come out at dusk.  We have been taking photos though and this has led onto Boy wanting to find out about them.
Here is the mother and one of her young last week.
Then the two little ones on a separate occasion.  They are completely adorable and we have been feeding them cat food on an evening and really enjoying watching them.  We have sought some advice from The British Hedgehog Preservation Society on caring for hedgehogs and their website is very useful if you find you also have hedgehogs.
 So earlier today we made Hedgehog Bread.  I remember having this as a young child myself so I really enjoying doing this with the children today.  It's a very simple and very good bread dough recipe we used.  It makes a very wet dough but it is far more like bakers bread than any other recipe I have tried.  Ingredients: 500g strong white flour, 14g dried instant yeast, 20ml olive oil, 2 tsp salt, 240ml water.  Put everything into a mixing bowl and combine with your hands.
Then add a further 80ml water and stir for a few more minutes.  The dough will be VERY wet but don't worry - this gives it a great texture and taste too!
Knead it on a floured surface for about 10 minutes.  Then place into the bowl and leave, covered, to prove (the yeast to work!) for 1 hour.
It should 'grow' to double the size.
Then turn it out and knead for a minute or so.  Then cut into smaller pieces and shape into hedgehogs by using raisins for eyes and a nose.  Then cut into the top with scissors to make the spikes.
Then bake at 200 degrees for about 15 minutes.  Sadly, our hedgehogs lost their eyes and noses in the oven but the bread tasted fantastic anyway!  Just needed to push them in firmer I think.
I think we might be doing one or two more hedgehog activities over the next week or so.